Navigation
- Part 1 – Prerequisites and creating the virtual machine
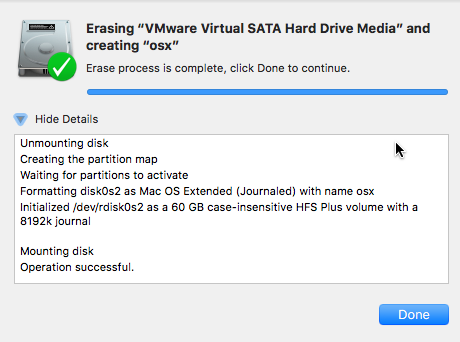
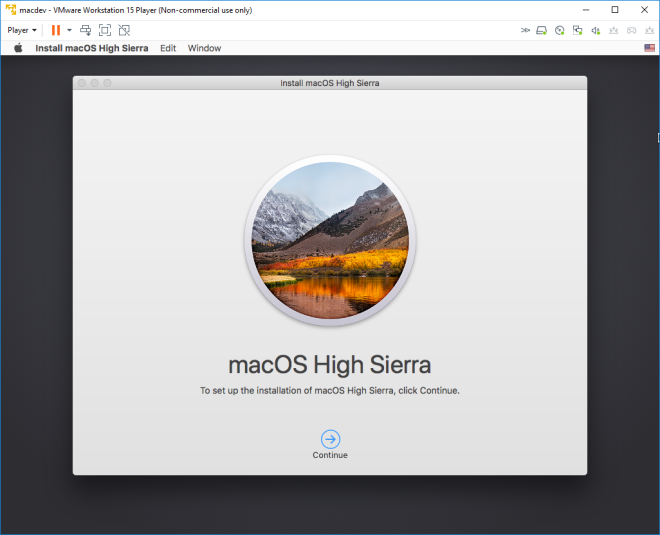
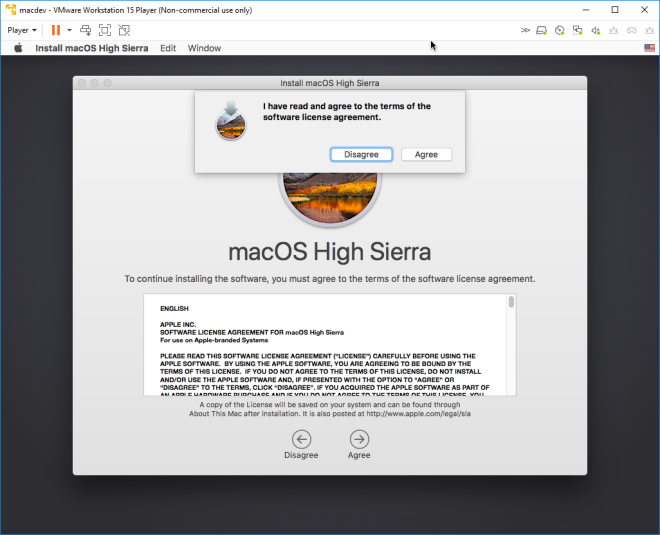
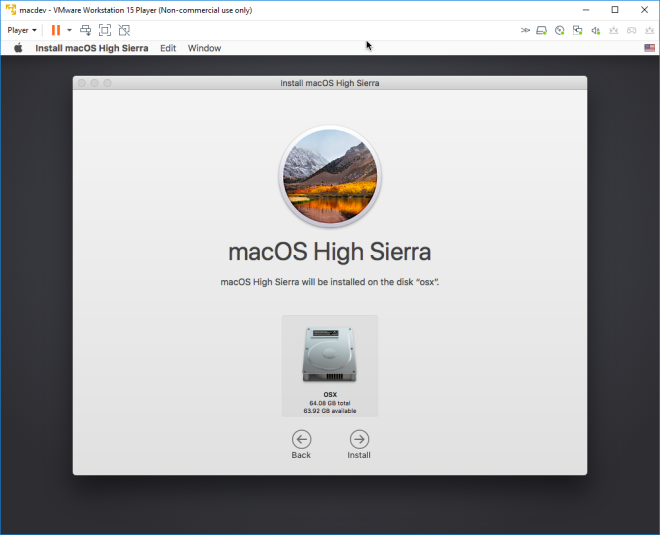
- Part 2 – Installing Mac OS
- Part 3 – Configuring Mac OS
- Part 4 – Setting up Xcode
- Part 5 – Building an app to your iOS device
Building an app to your iOS device
Now that we have a virtual Mac with Xcode running it’s time to build an app and deploy it.
Cloning and building an existing Xcode project
If you already have an Xcode project on the VM you can open it and skip to step 4.
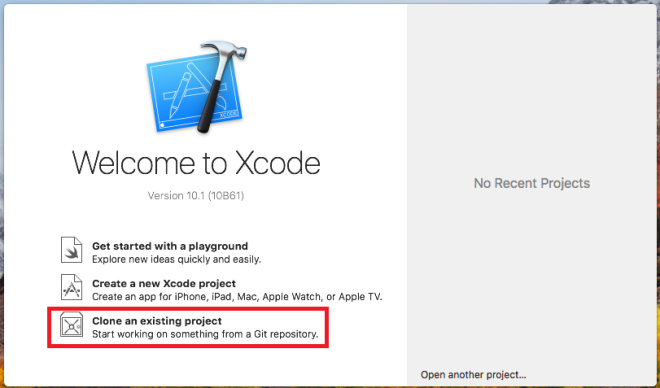
- From the Xcode splash screen select « Clone an existing project ».
Note: If you have closed the splash screen you can find it in the Window menu up top, « Welcome to Xcode ».
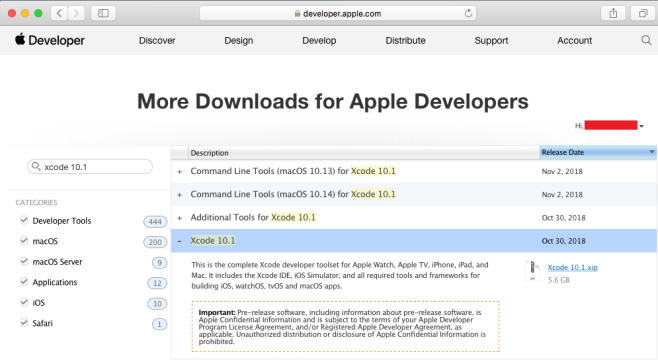
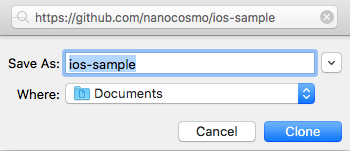
- Copy the URL of the repository of the project you wish to open in the address bar. In this example I clone a sample 1-view iOS app I’ve uploaded to Github to my Documents folder. URL: https://github.com/nanocosmo/ios-sample

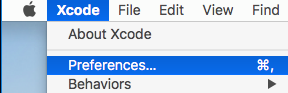
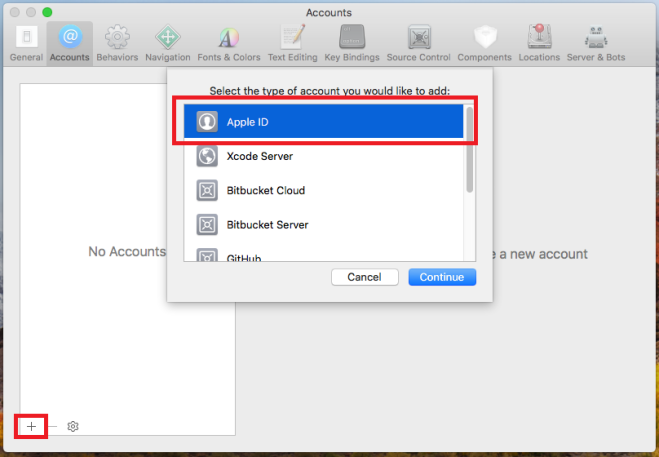
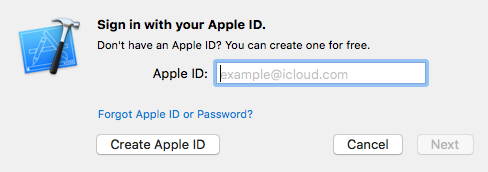
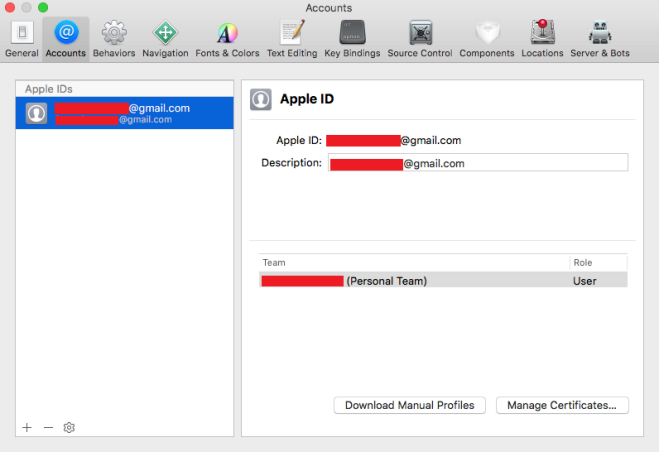
Note: to browse projects more easily you can add your own user accounts for code-hosting platforms such as Github or Bitbucket to Xcode. In the Xcode menu up top, open Preferences… and then the Accounts tab. Click the « + » button in the bottom left and select the type of account you wish to add.
- In the cloned directory (Documents/ios-sample) open the project file xcode-ios-sample.xcodeproj.
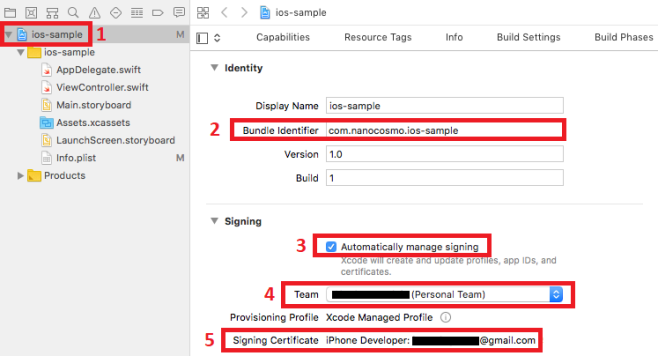
- Select the root of the project (1) in the left-hand column. Change the Bundle Identifier (2) to your own (see below). Make sure « automatically manage signing » (3) is checked and then select your Team (4) in the dropdown menu . A Signing Certificate (5) corresponding to your Apple ID should be generated . If not then make sure you have followed all the steps in part 4.
Bundle identifiers have to be unique within the Apple ecosystem as they identify apps on the store, which means you should always modify them after cloning a project from another source.
The naming standard goes <top level domain>.<company>.<project>. If your company’s website is nanocosmo.com and your app is called ios-sample then the bundle ID should be com.nanocosmo.ios-sample. Note that the nanocosmo.com website doesn’t need to exist for you to use this bundle ID.
When working with an Apple ID that isn’t a paid developer account you can only create up to 10 bundle IDs per week. For testing purposes this is fine as you can reuse them from one project to another.
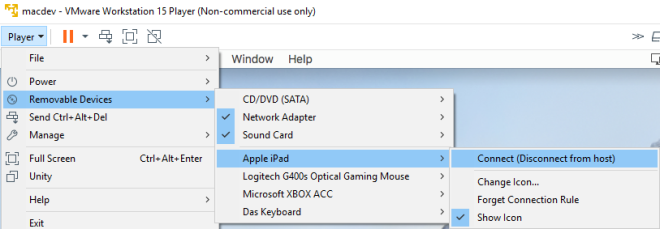
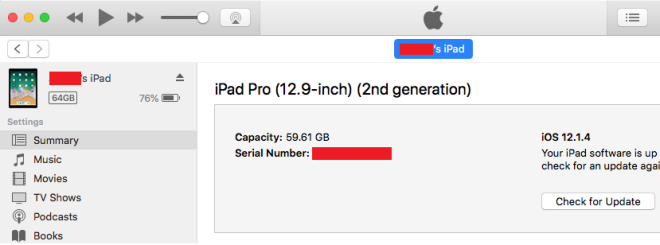
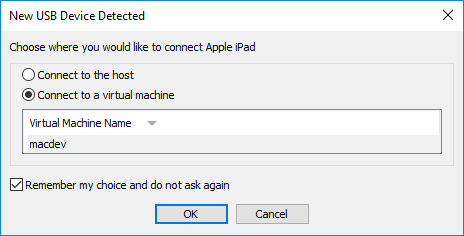
- If you haven’t done so plug your iOS device and connect it to the VM (see part 4, step 8). After a few seconds the device should appear in the Active Scheme toolbar at the top of Xcode. Select it from the dropdown menu.


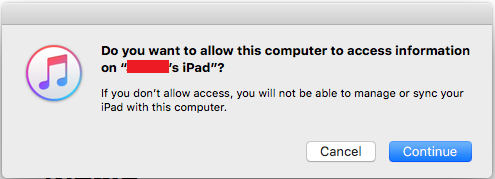
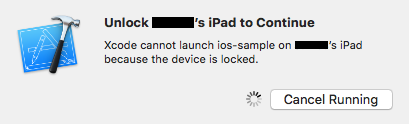
- Now click the « Play » button to build the app. You may be prompted to unlock your device so Xcode can transfer the files.

- Before you are allowed to launch the app Xcode will warn you that you need to set the developer to « trusted » on your device.
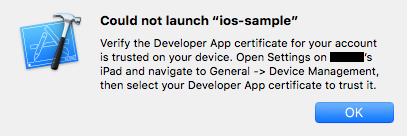
- As indicated, open the Settings on your device, General, Device Management and you should find an entry for a « developer app » in the name of the Apple ID you have used for your provisioning profile. Tap it and select « Trust ».
Note: if you delete your own apps from your device then the trust status for your developer account will be rest and you will then have to repeat that last step. Also remember that you can only have 3 of your apps on your device at any time.
- If all went well you can now launch the app on your iPhone/iPad.
And we’re done! You can now deploy apps to your iOS device without a Mac. I hope this guide can be of some help to someone, if you see any errors or have any suggestions feel free to post them in the comments.
Workflows
I don’t know Objective-C or Swift and one of my main reasons for embarking on this project was to try out the cross-platform features of some of the tools I use on Windows. I’ll quickly summarize the workflows I’ve found to be effective for this purpose.
Visual Studio (Xamarin)
Xamarin is a cross-platform framework that’s integrated in the free version of Visual Studio that allows you to create native mobile apps for both Android and iOS with C# and .NET – no Swift or Objective-C required.
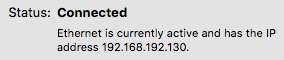
From version 15.6 of Visual Studio Community 2017 it is possible to pair a Mac (virtual or not) with a Windows version of Visual Studio over the network, after which you can build and deploy directly from the Visual Studio IDE on your dev machine! Setup is quite straightforward too.
Tip: to find the IP address of your VM just go into System Preferences and click Network.
Unity
The free version of Unity can generate Xcode projects for you, then all you need to do is to open and build them on the VM. Again, no need for Swift or Objective-C.
The projects generated can be pretty massive (even if the resulting app isn’t) so my current workflow is to place them into a shared folder on my host that I then access directly from the VM. That way I don’t have to copy the files every time.
Tip: Mac OS generates .DS_Store files to store the view settings for each folder you access. They’re invisible on Mac but can be annoying on PC. To stop them cluttering your projects, start the Mac OS command-line utility Terminal and type in the following command:
defaults write com.apple.desktopservices DSDontWriteNetworkStores true
Then reboot the mac. With this .DS_Store files will no longer be generated on network shares (you may still need to remove the ones generated previously). The command to undo this change is just what you’d expect:
defaults write com.apple.desktopservices DSDontWriteNetworkStores false